Dedicated to Accuracy, Transparency & Consistency
In-production CMM inspections & rigorous reviews for on-time deliveries
Your Partner in Precision From Concept to Production
Precision CNC components for applications in industries like defense, aerospace, and medical devices have meticulous lists of design requirements, quality reviews, and iterative tests. All of these steps are necessary to ensure that the parts and assemblies will endure in challenging work conditions.
Engineers and organizations that rely on these parts need a partner who will maintain the highest standards for quality and precision. You also need confidence that your partner will overcome quality and delivery obstacles, mitigate risk, and provide turnkey solutions.
Senga Engineering provides the quality assurance and headache-free experience you deserve from your CNC manufacturing partner.
Robust process designs coupled with on-the-floor CMM inspections empower us to produce complex parts that require fewer operational steps and handling by the customer. These processes make production cycles highly efficient for your CNC manufacturing needs.
Make it right the first time with precision CNC machining and quality assurance from Senga.
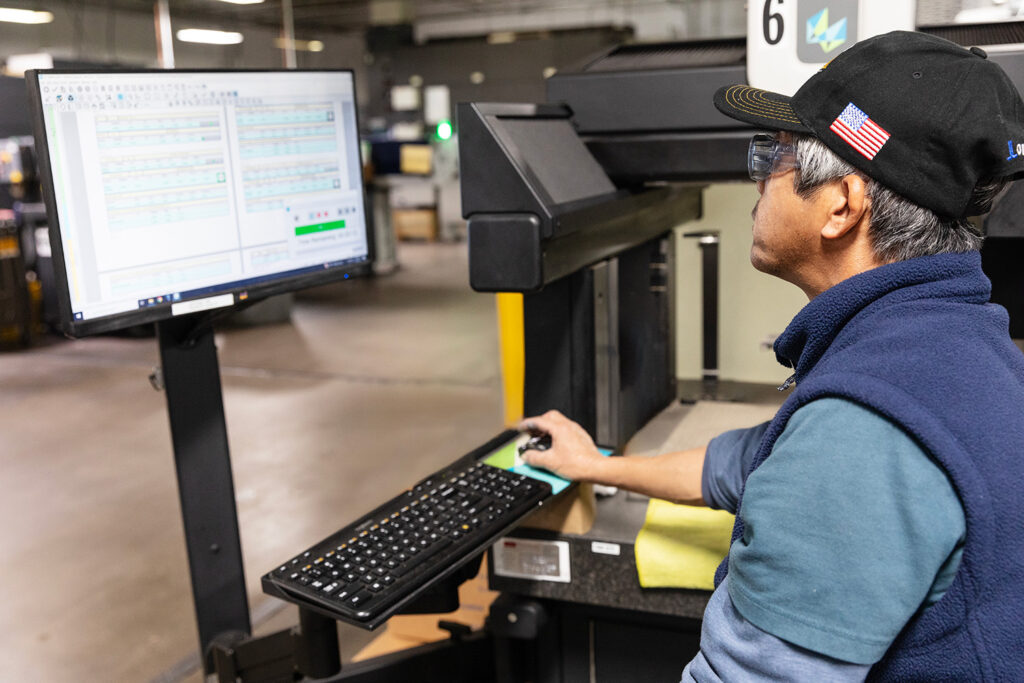
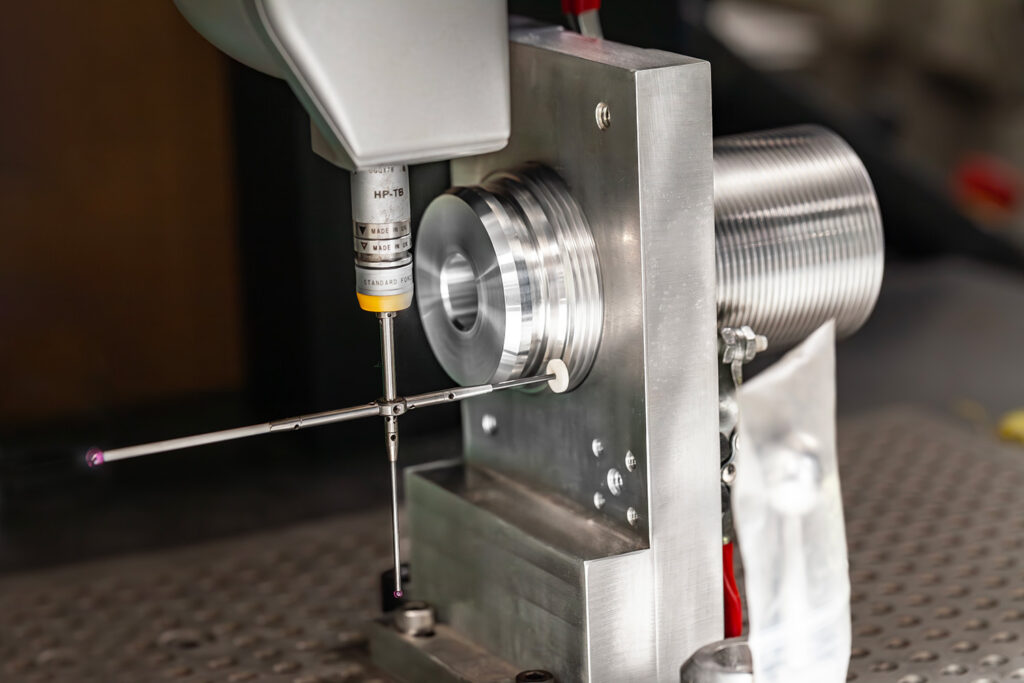
Senga’s coordinate measuring machine (CMM) inspections on the production floor ensure speed, repeatability, and accuracy by eliminating the need for operators to manually verify and record measurements.
- Six shop floor-specific CMMs are used at the source during production
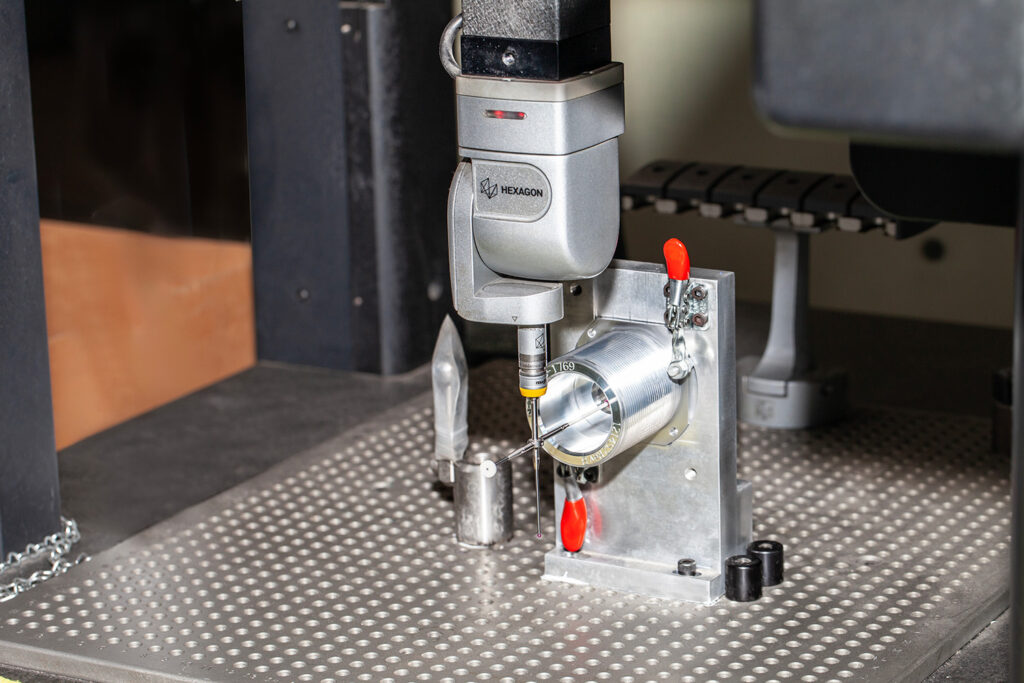
- Our Global Series machine ensures high accuracy and throughput for:
- Dimensional inspections of mechanical components with tight tolerances
- Parts with complex geometries and free-form surfaces
- For excellence in demanding conditions, CMM inspections feature advanced thermal compensation, covered ways, hardened steel tool guides, and built-in vibration resistance
- Our Global Performance CMM is characterized by high accuracy — up to 35% improved scanning compared to a manual or touch trigger CMM — and multi-sensor technology
We use the most suitable CMMs to perform a variety of metrology operations on a single, flexible, and accurate measuring machine in our on-site temperature-controlled quality lab.


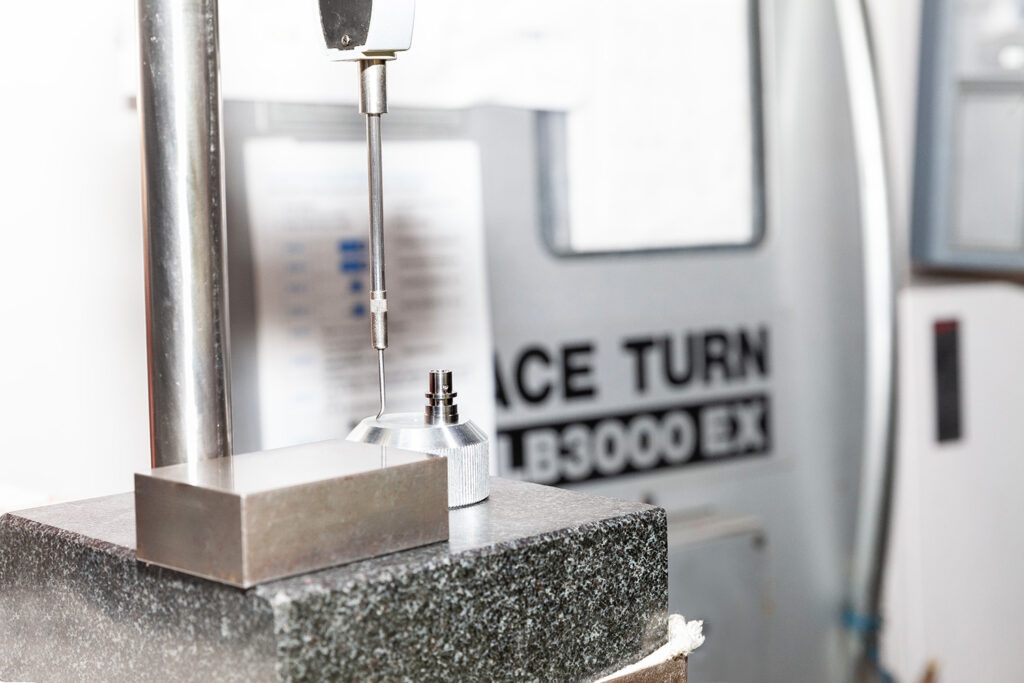
Optical comparators are automated measurement systems that provide highly accurate and repeatable data in seconds. They feature:
- Quick multidimensional inspection checks on the shop floor
- Optical measuring with high accuracy compared to a caliper
- Ability to measure up to 99 dimensions in seconds
- Consistent results across various operators
- Automatic data recording and inspection reports
The optical comparator can dimension any critical features on the part within the system’s field of view. Measurements are always consistent among operators due to built-in automatic edge detection software.


The PPAP, provided upon customer request, verifies that the supplier understands all customer engineering design specifications and requirements. It also confirms that the process is capable of consistently producing product that meets those requirements during an actual production run at the quoted production rate.
- PPAP is required for any new part submission or changing an existing part or process (Quality-One)
- PPAP defines the approval process for new or revised parts, or parts produced from new or significantly revised production methods
- PPAP provides evidence that the supplier has met or exceeded the customer’s requirements and the process is capable of consistently reproducing quality parts (Quality-One)
The PPAP is a valuable tool for establishing confidence in component suppliers and their production processes. Several industries have implemented the process to improve communication and provide quality products (Quality-One).
See What Success with Senga Looks Like
Hear From Our Partners
Proven track record of exceptional quality
“Senga delivers high quality complex parts that go from our dock to our production floor with only very minimal inspection required, because Senga has an excellent in-house quality assurance system and proven track record of exceptional quality, thus eliminating the time and cost of incoming receiving inspection on our end.”
President, Major Alternative Energy Industry Manufacturer
Professionalism & turnaround time have been exceptional
“I feel privileged to have Senga Engineering with their capacity and capabilities. Their professionalism and turnaround time have been exceptional, not to mention the excellent care & dedication that Mike Irion shows every day. Always willing to go the extra mile to get us what we need.”
Business Operations Manager, Fiber Optic Interconnect Solutions Provider
Frequently Asked Questions
What are Senga’s capabilities and areas of expertise?
Is SPC being used at your facility?
Does Senga have a dedicated, temperature controlled inspection room?
Yes, Senga’s Quality Lab is temperature controlled between 68–72 degrees.